myCobot 280 20.04 System Instructions
HDMI interface selection
It is recommended to choose the interface selected in the figure below, with a resolution of 1920X1080.
python
Use python directly through the file
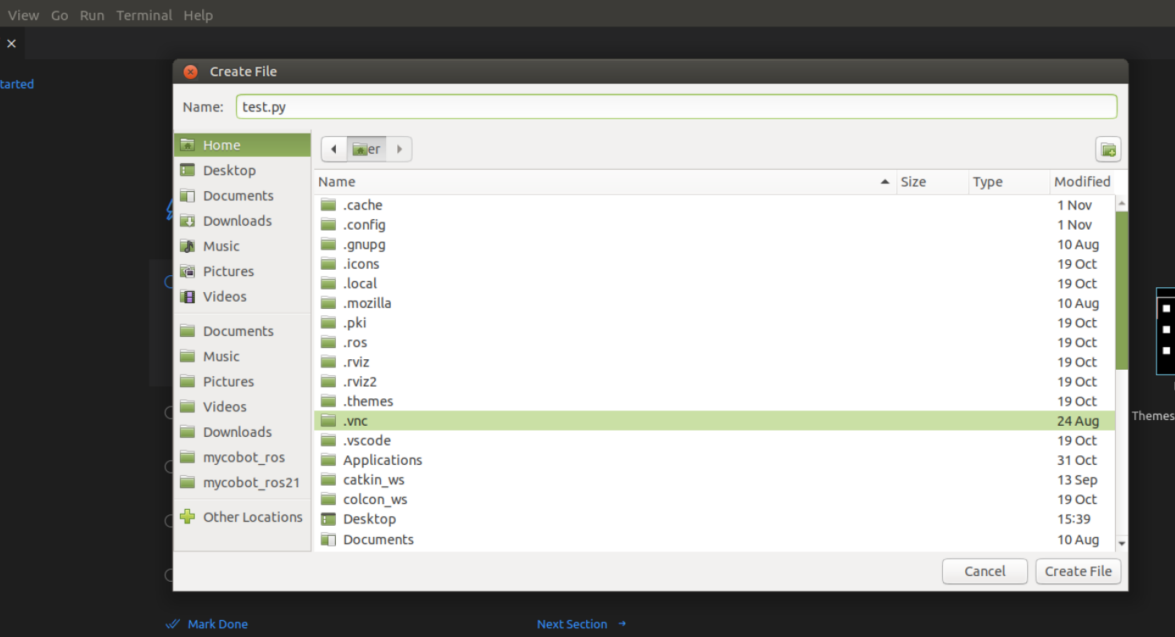
- Right-click the mouse directly on the desktop and select Create Document -> Empty File
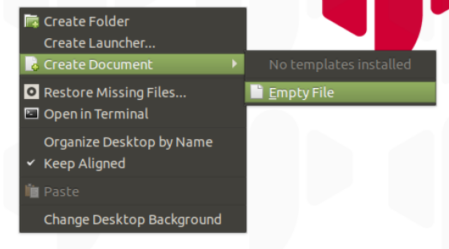
- Name and add a suffix to the newly created file, .py is the suffix of the python file

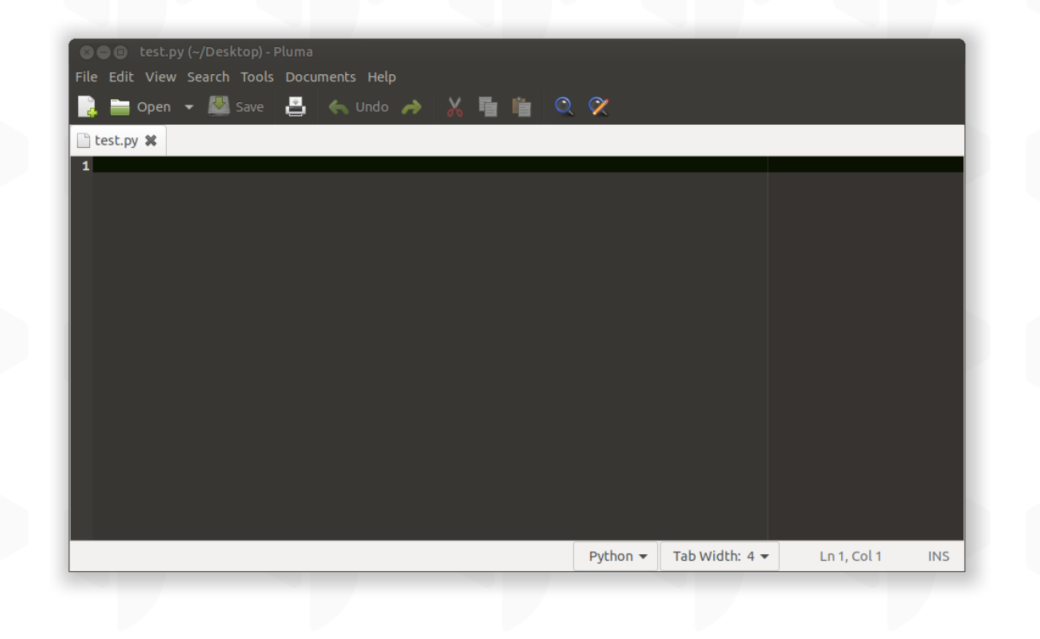
- Click to open and start python programming
- For python tutorials and more cases, please refer to the chapter: Development and use based on python
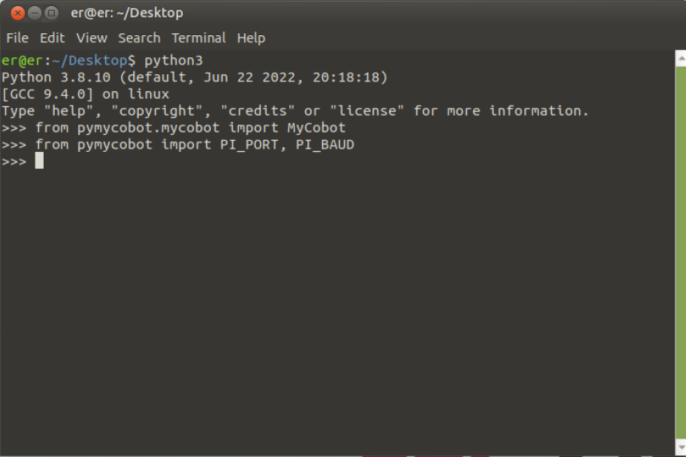
Using python through the terminal
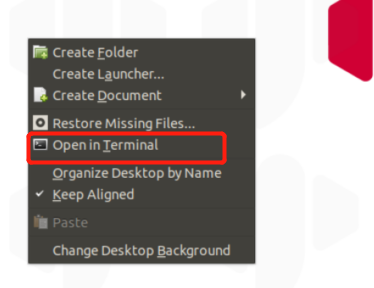
- Right-click the mouse directly on the desktop, select Open in Terminal (shortcut key CTRL+ALT+T), open the terminal
- Enter 'python3' in the terminal to start programming

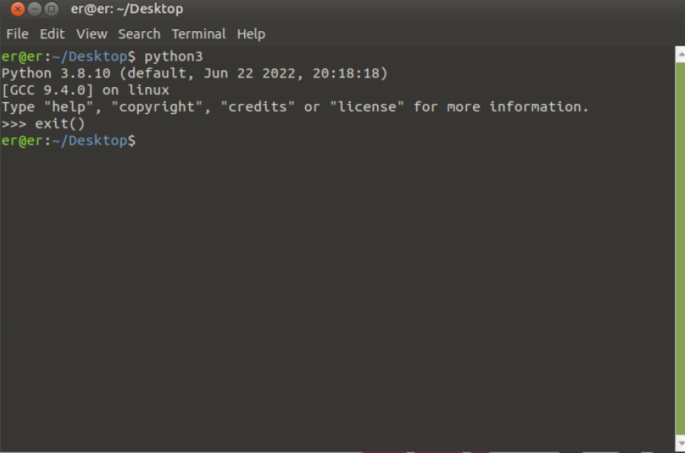
- Use the shortcut key (CTRL+Z) or enter 'exit()' to exit the programming interface
- For python tutorials and more cases, please refer to the chapter: Development and use based on python
Use python with VSCode
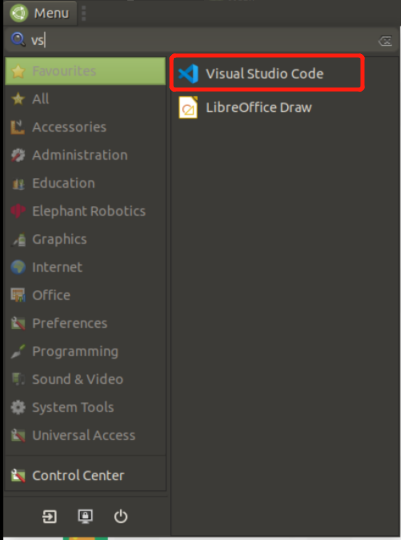
- Search for VS in the upper right menu and open VSCode
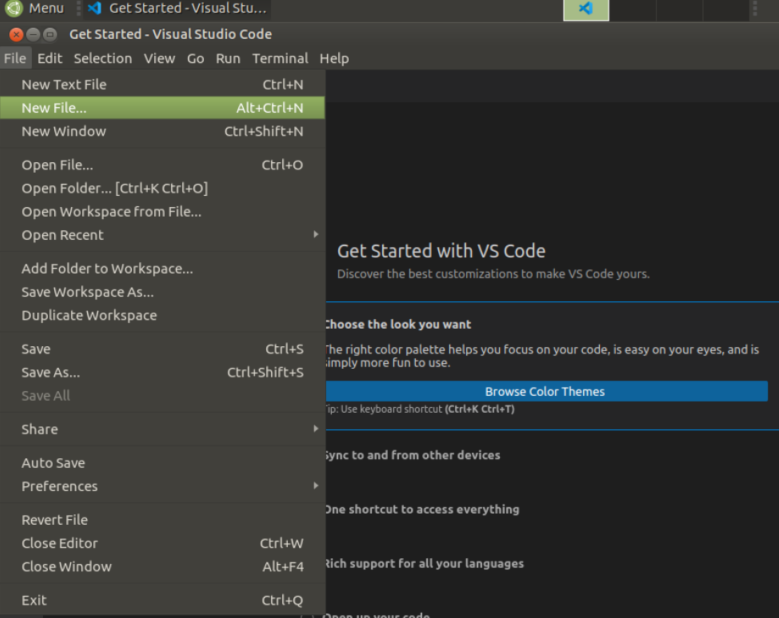
- After entering VSCode, select File -> New File to create a python file
- Name the file

- Select the file storage location
- For python tutorials and more cases, please refer to the chapter: Development and use based on python
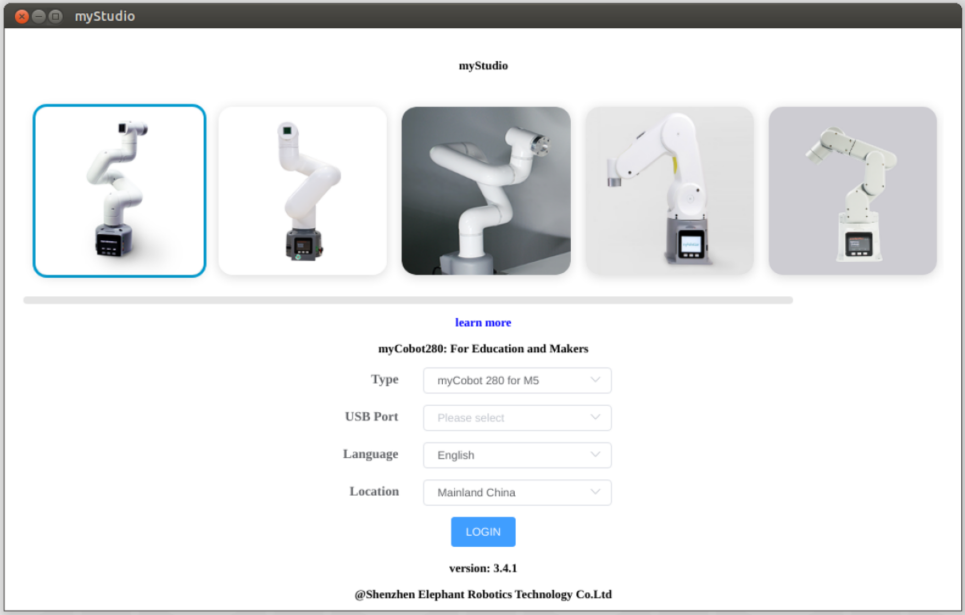
myStudio
- Click the desktop myStudio icon to open

After opening, as shown in the figure below
- For the myStudio tutorial, please refer to the chapter: 5.1 myStudio
myBlockly
- Click the desktop myBlockly icon to open

After opening, as shown in the figure below

- For myBlockly tutorial, please refer to the chapter: 6.1 myBlockly
ROS
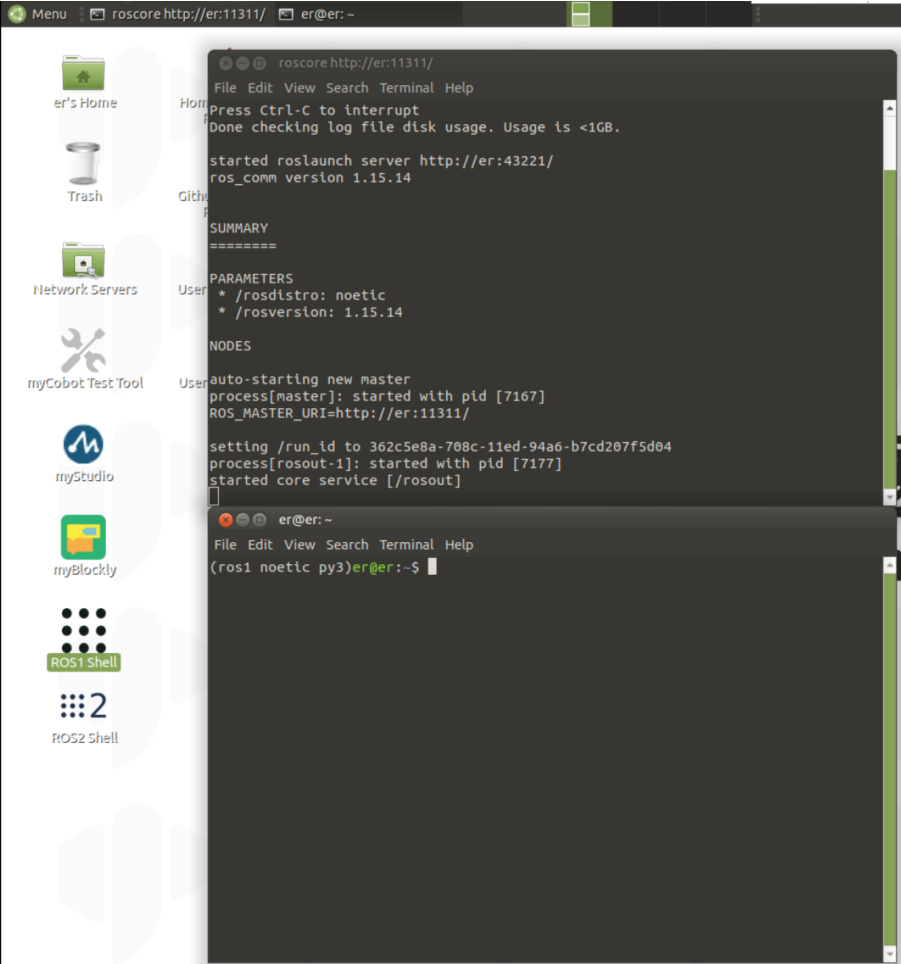
ROS1
- Click the desktop ros1 icon to open

After opening, as shown in the figure below, the ros command can be entered in the terminal below
- For the tutorial of ros1, please refer to the chapter: Brief introduction and use of rviz
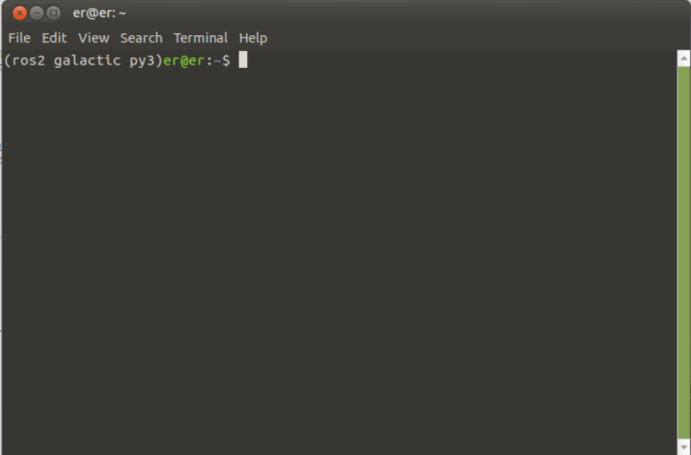
ROS2
- Click the desktop ros1 icon to open

After opening, as shown in the figure below, the ros command can be entered in the terminal below
- For the ros2 tutorial, please refer to the chapter: Brief introduction and use of rviz2